Viewing and Creating Virtual IFBs
To view or create IFBs, select Configuration > IFB.
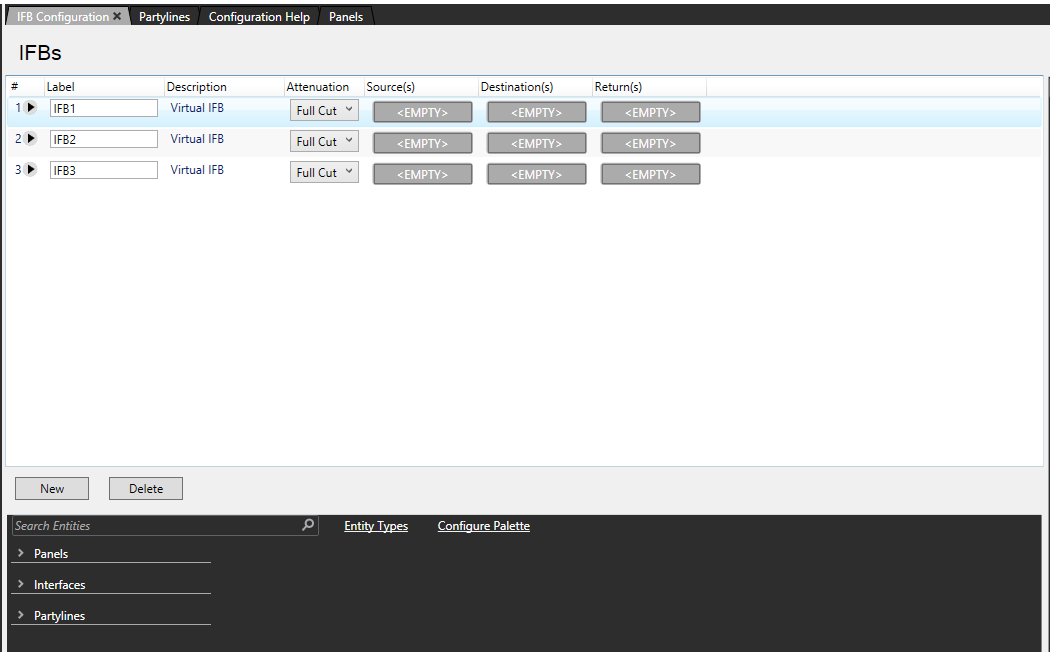
Any IFBs already configured in the system are displayed in a grid with the following information:
-
Label – a name for the IFB. To change the label, click the Label field and type a new label.
-
Description – a summary of the IFB function. To change the description, click the Description field and type a new description.
-
Attenuation – the level by which the source audio is dimmed. This ranges from No Cut to Full Cut in 3 dB increments. To change the attenuation, click the drop-down arrow and select a new value.
-
Source – the IFB source.
-
Destination – the IFB destination.
-
Return – the IFB return.
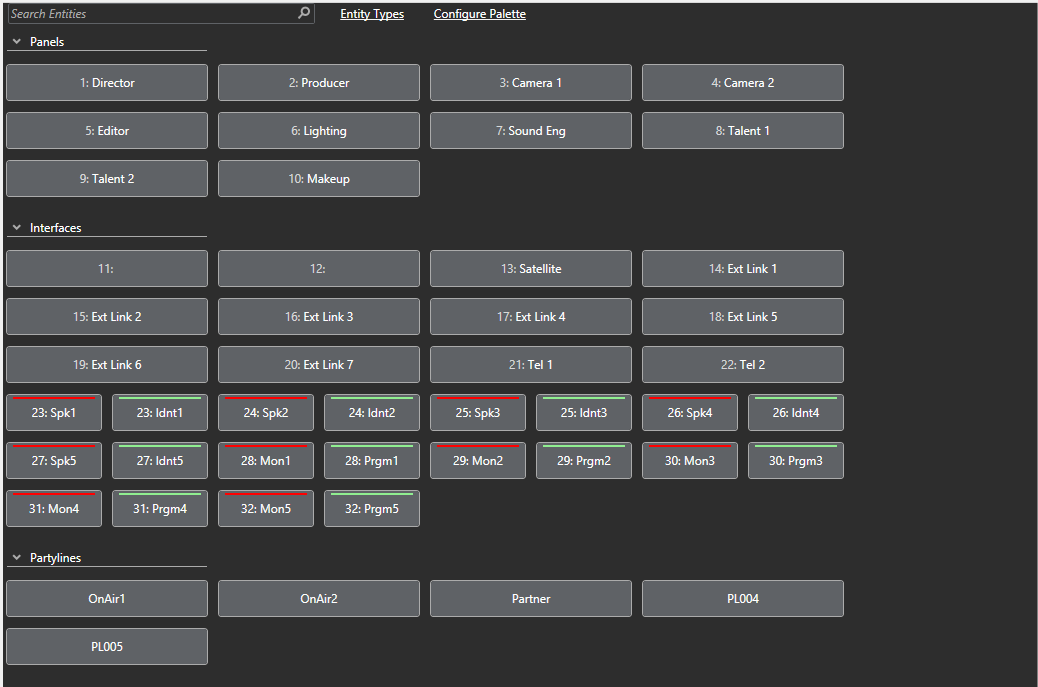
You can change sources, destinations and returns by using the mouse to drag an entity from the pallet below the IFB grid onto the required source, destination or return field.
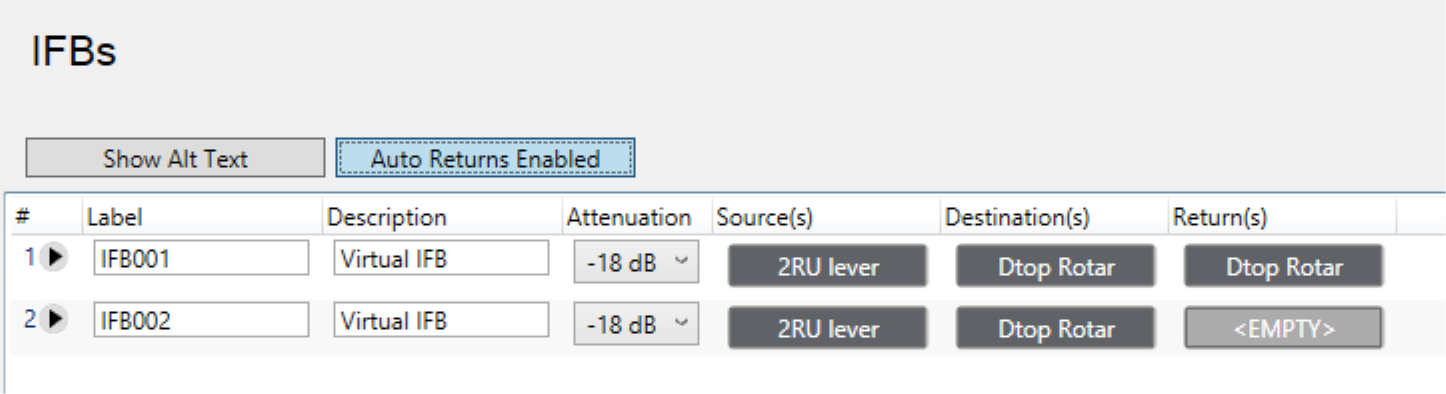
Select IFB List Options to display:
-
Show/Hide ALT Text – Displays ALT text labels.
-
Auto Returns Enabled/Disabled – When enabled, automatically adds or removes IFB returns when IFB destinations are added or removed.
To remove an item from the source, destination or return field, right-click the field and select Remove Item.
| Note: | If you add a port to the destination field, it is automatically added to the return field (if auto-returns is enabled). |
You can have a maximum of six sources, destination and return for each IFB.
| Notes: | Sources, destinations and returns can be on a remote matrix. If a panel has keys to remote returns or destinations, their input and output levels can only be adjusted from the return/destination local matrix frame. They cannot be adjusted on the panel. |
| Remote sources and returns will be permanently routed to the IFB host frame. Therefore, to reduce intelligent linking resources, the IFB should be created on the same matrix frame as the destinations and or returns if possible. |
To add multiple sources, destinations or return:
-
Select the arrow to the left of the IFB label.
-
Drag the extra source, destination or return onto the ADD + button.