Adding and Deleting Controls
-
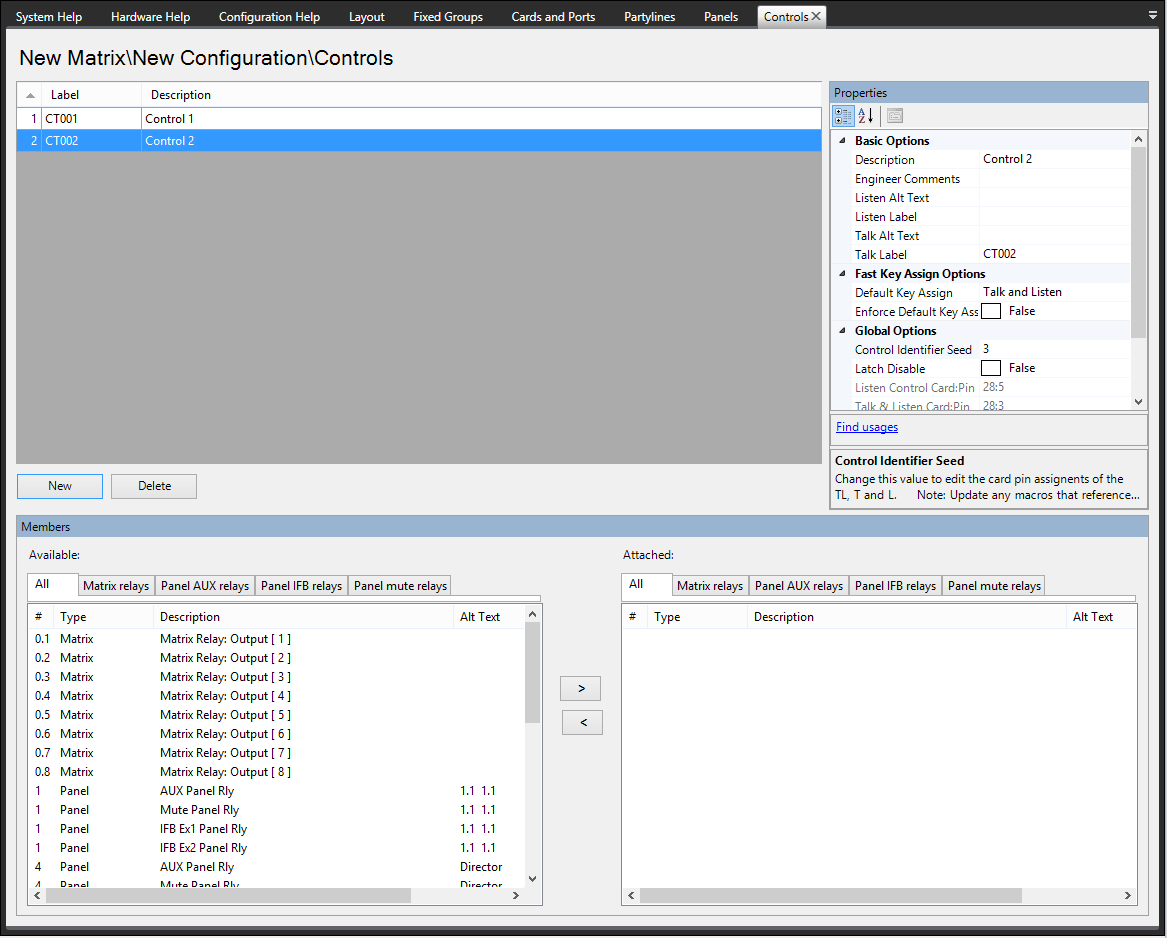
Select Configuration > Controls.
-
Select the New button at the bottom left of the Controls window (top left window of the screen).
-
Change the Label and Description fields as required.
-
To add members, select the required members from the Available window (bottom left of the screen) and click on the > in the section between the lower windows to transfer the members to the Attached window in the bottom right of the screen.
Alternatively double-clicking on the required item transfers it to the Attached window. Also, right-clicking on a member of the Available group displays a menu allowing it to be attached.
The # button on the Available and Attached panes sorts the members by port number in ascending or descending order, preceded by non-port items such as controls.
The Label button sorts the members by name alphabetically and the Description button sorts the members alphabetically by description. The tabs above the Available and Attached panes filter the members by type.
-
To remove members from the group select the members to be removed in the Attached window and click on the < symbol in the central section to return them to the Available window.
To delete a Control:
-
Select Configuration > Controls. This opens the Controls configuration screen.
-
Select the Control to delete and click Delete.