Configuring Local Advanced
To open the Local Advanced Screen:
-
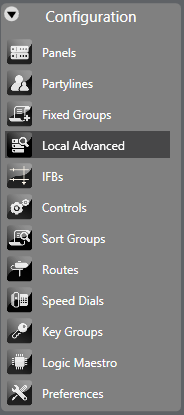
Select the Local Advanced entry in the Configuration menu.
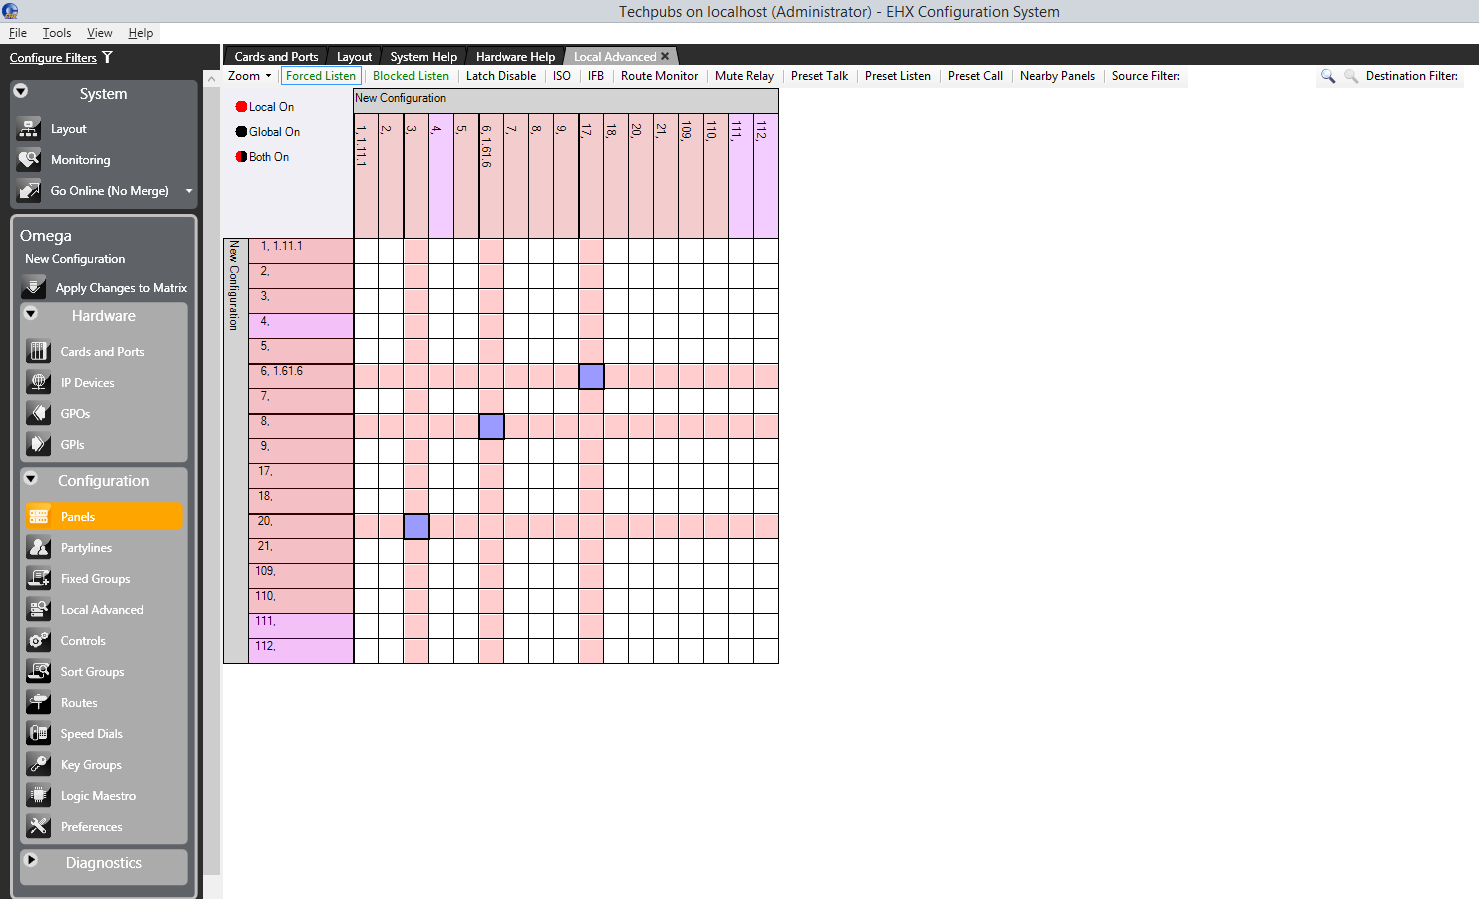
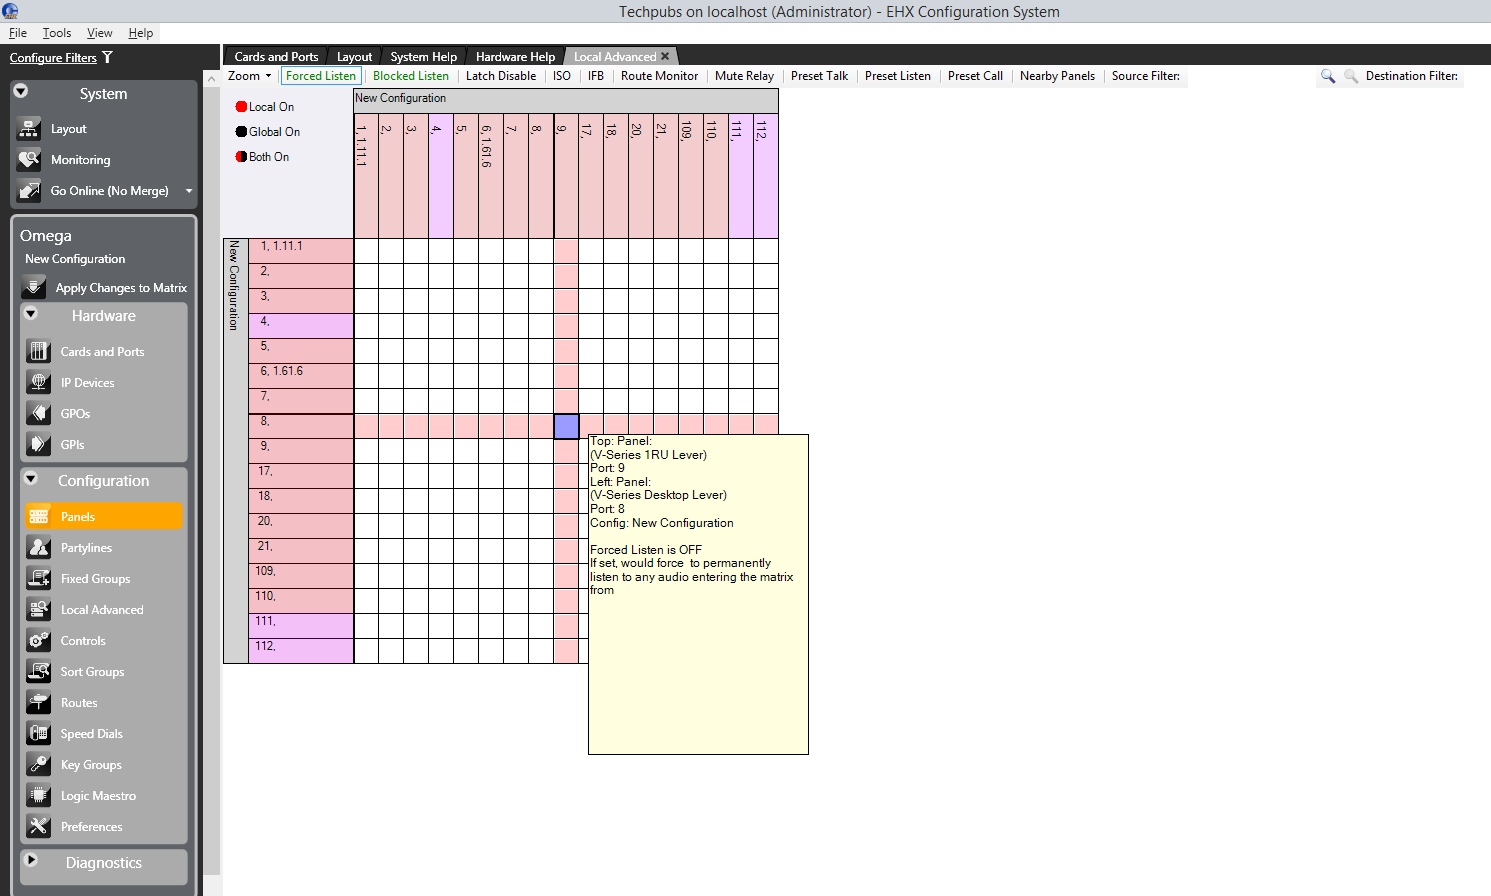
The configured devices are displayed to form a grid with each square displaying the attributes set for interactions between the devices as a colored dot or empty if the attributes are not set. Tabs on the toolbar allow the specific attributes to be selected. Positioning the mouse pointer over a square displays a tooltip indicating the current status.
A key to the meaning of the colored dots that indicate status is shown in the top left-hand corner of the Local Advanced screen. The Sources are listed down the left-hand side and the Destinations are listed across the top.
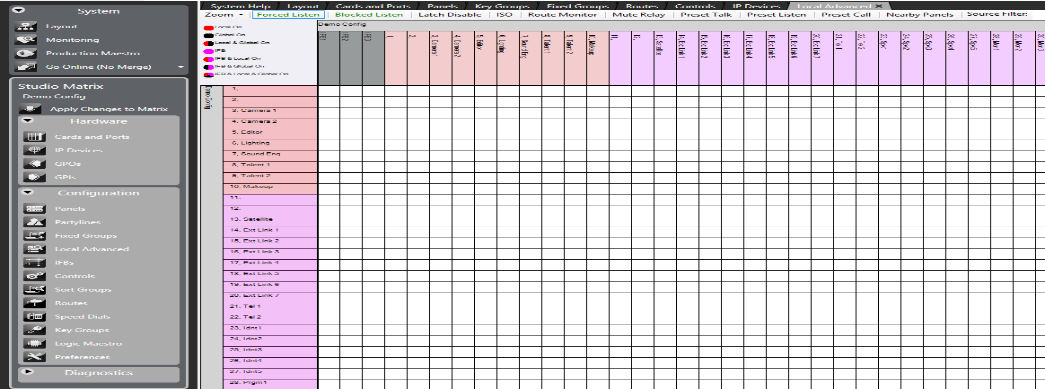
The type of source/destination is denoted by the color of the entry. These are:
-
Grey - IFB
-
Pink - Panel
-
Yellow - Partyline
-
Purple - Interface (Direct, FOR-22, Telephone, TEL-14, CCI-22)
-
Blue - Fixed Group
-
Green - Control
Note: IFBs are displayed on the Forced Listen tab.
The tabs allow the grid to be displayed for the various properties of the connections (such as Forced Listen, Latch Disable and so on).
-
Select one of the tabs to display a grid with sources and destinations which may have this property and the status of any connection between them. For example, selecting the Blocked Listen tab only displays panels and interfaces to which this property can apply. Where the property is enabled a colored dot is displayed in the square: red for local property assignment, black for global property assignment.
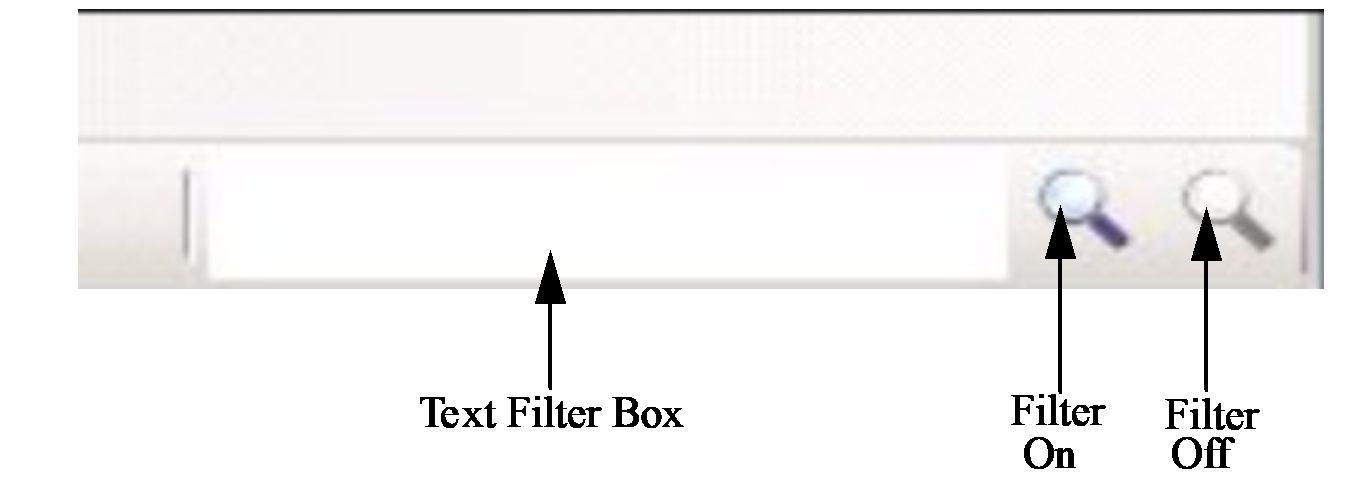
You can filter the items along the top by name using the text filter boxes on the right-hand side of the EHX Control Bar. There is a separate Source and Destination filter box.
-
Enter the text to filter by and click on the filter icon to the right of the filter box left filter icon). Only the destinations with names containing the filter text are displayed on the top row. The sources are not filtered. To turn off filtering click on the rightmost of the two filter icons.
-
By holding down the Control key whilst selecting the tabs, you can select multiple tabs. In this case any squares representing connections are colored red if any of the select properties are set.
Note: Only local settings are displayed when multiple tabs are selected. Global settings are not shown.
When the mouse pointer is positioned over one of the squares of the grid a tool tip gives details of the connection.
| Note: | By not touching the mouse the tooltip remains on the screen. |
-
Place the pointer over the square that intersects the required source and destination.
The tooltip displays the current properties.
-
Click the square. The square turns blue and the source and destination label backgrounds changes to white.
-
To set or clear the current property (for example, Latch Disable) right-click the mouse to display the On/Off options.
-
Use the pointer to select the required state and right-click or left-click on it to select it.
A red dot is displayed in the square if the function has been enabled in local mode.
| Note: | By holding down the Control key when assigning connection properties, it is possible to move from square to square and make multiple selections with a single mouse click. If the Shift key is held down a block of connections can be assigned by clicking on limits of the required block selecting all the points between the limits. This allows large numbers of connections to be set very quickly. |
The following sections contain a description of each option. Every option does not appear for every combination of source and destination.
The possible options are described in these sections.